Pushwoosh treats your private data as a matter of exceptional security so any information our system could access with your keys is kept safe. We do use the keys or any other authentication data you share with us only to provide you with the notification services for your app in accordance with the agreements you have with Pushwoosh.
Basically, a Private Key for your Firebase service account is needed to configure the Android platform in Pushwoosh. However, when it comes to account security concerns, it’s possible to configure Android with no giving Pushwoosh access to all Firebase services accessible with that Private Key.
To limit Pushwoosh’s access to your Firebase services though giving our system an admission to everything needed for messaging, generate an additional Private Key for your project as described below.
1. Go to your Firebase console and choose a project you’re going to use Pushwoosh with.
2. Go to Google Cloud service accounts.
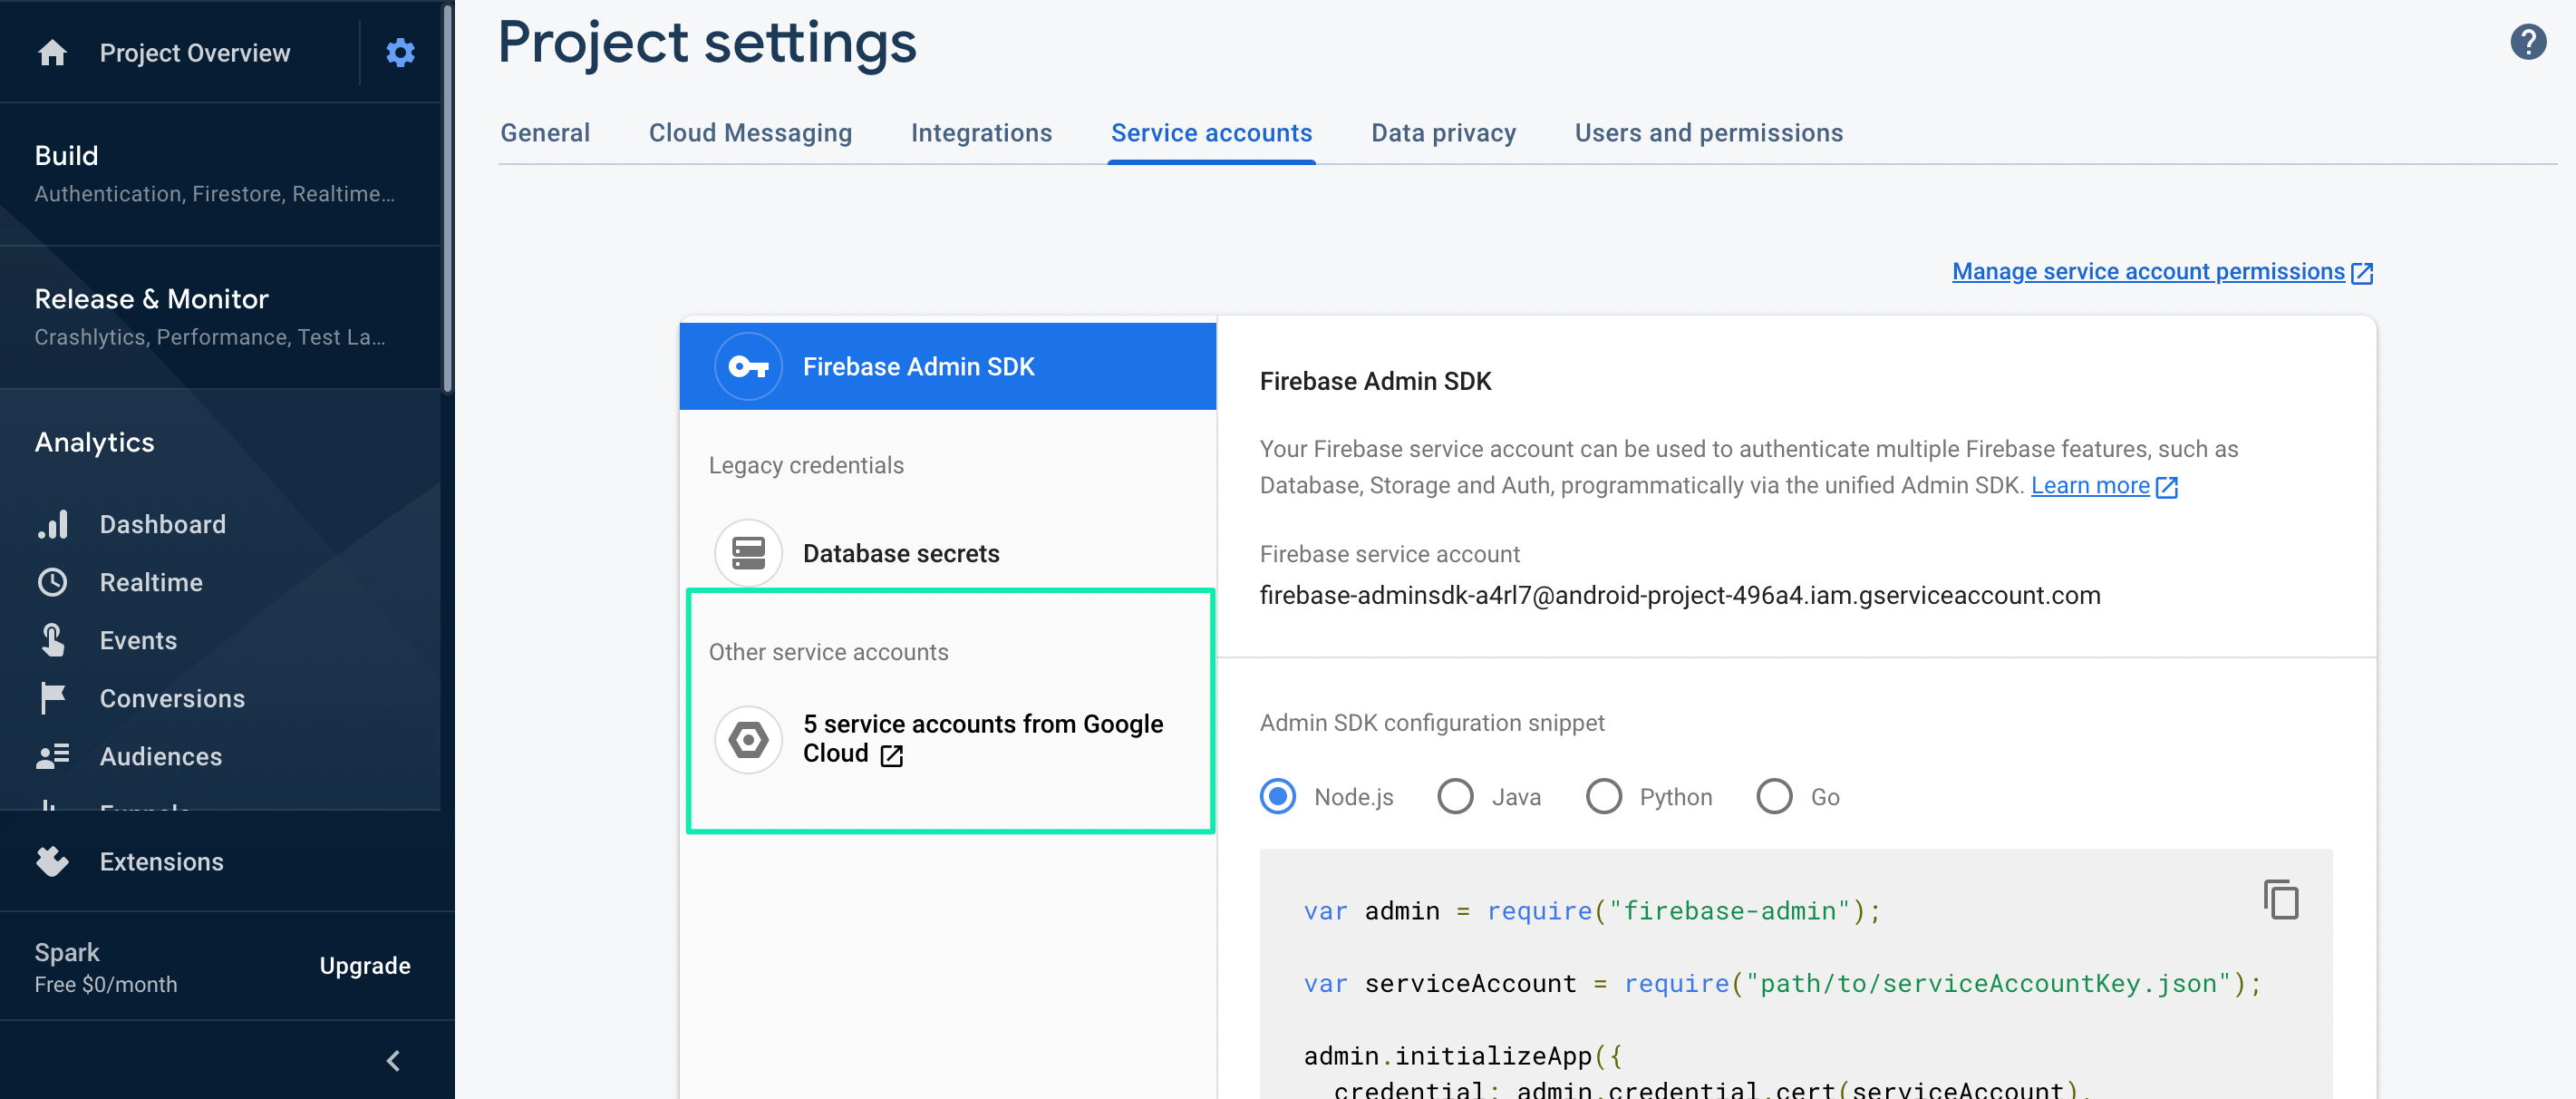
3. Create a service account.

Creating service account
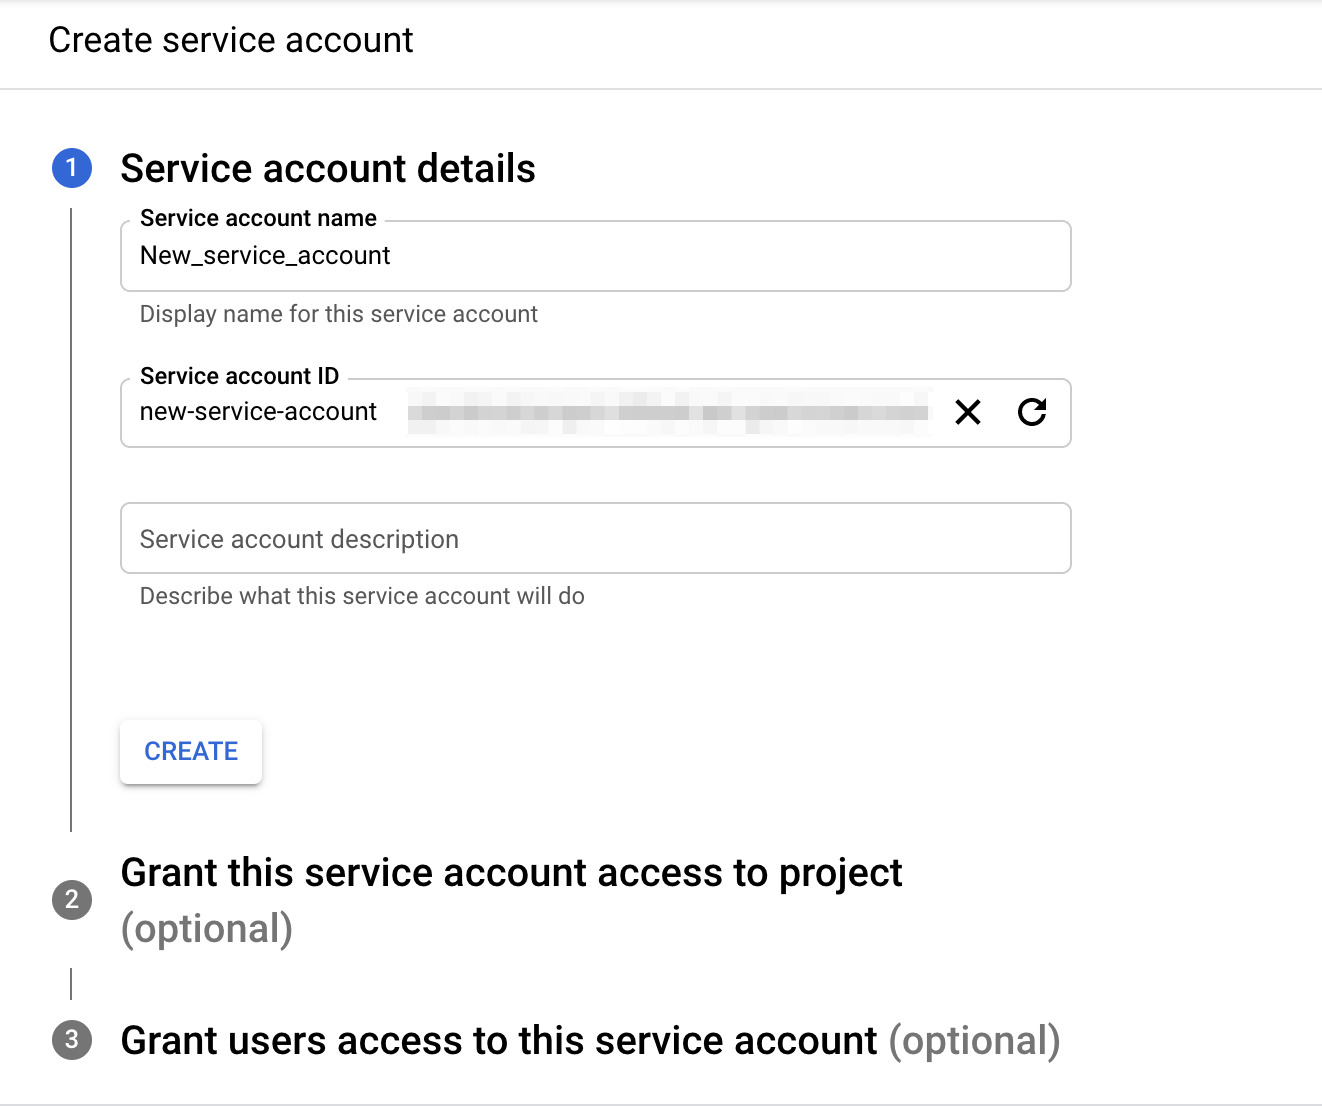
Adding service account details
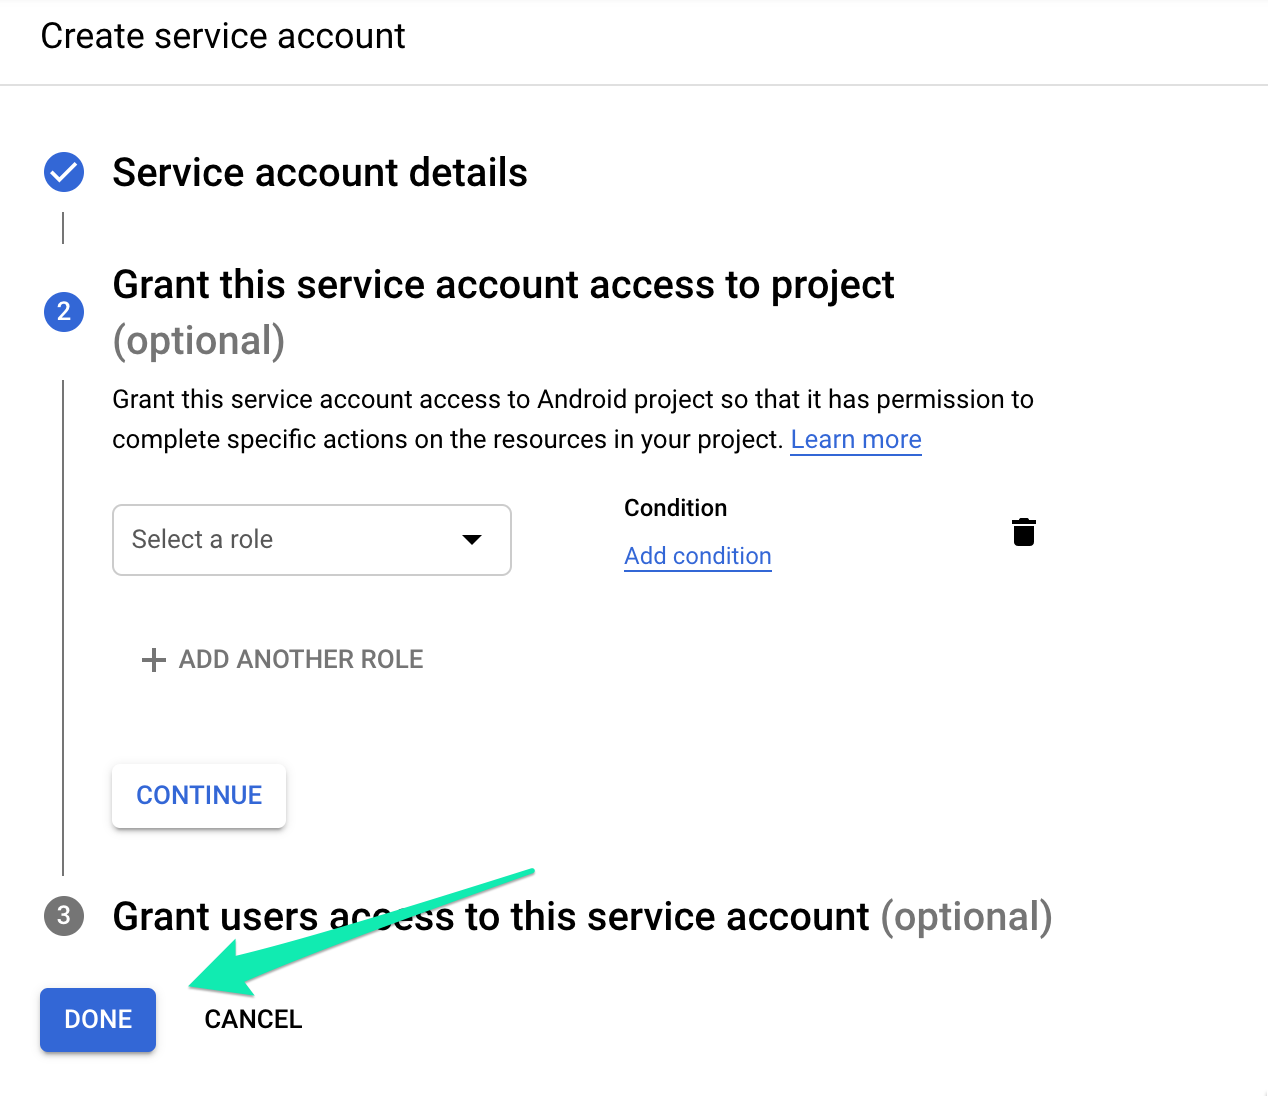
Saving new service account
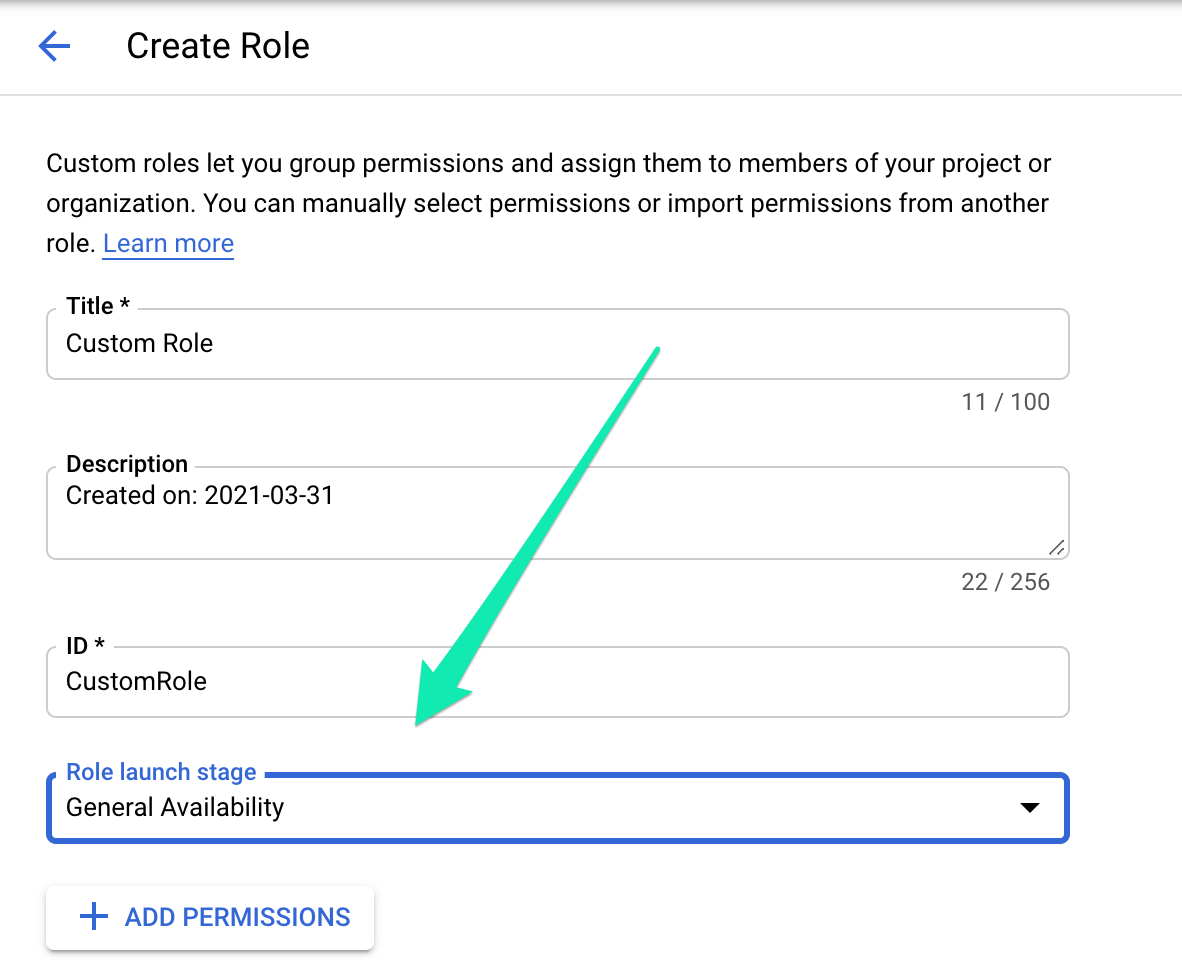
4. Go to the Roles section of the left-side menu and press Create role.
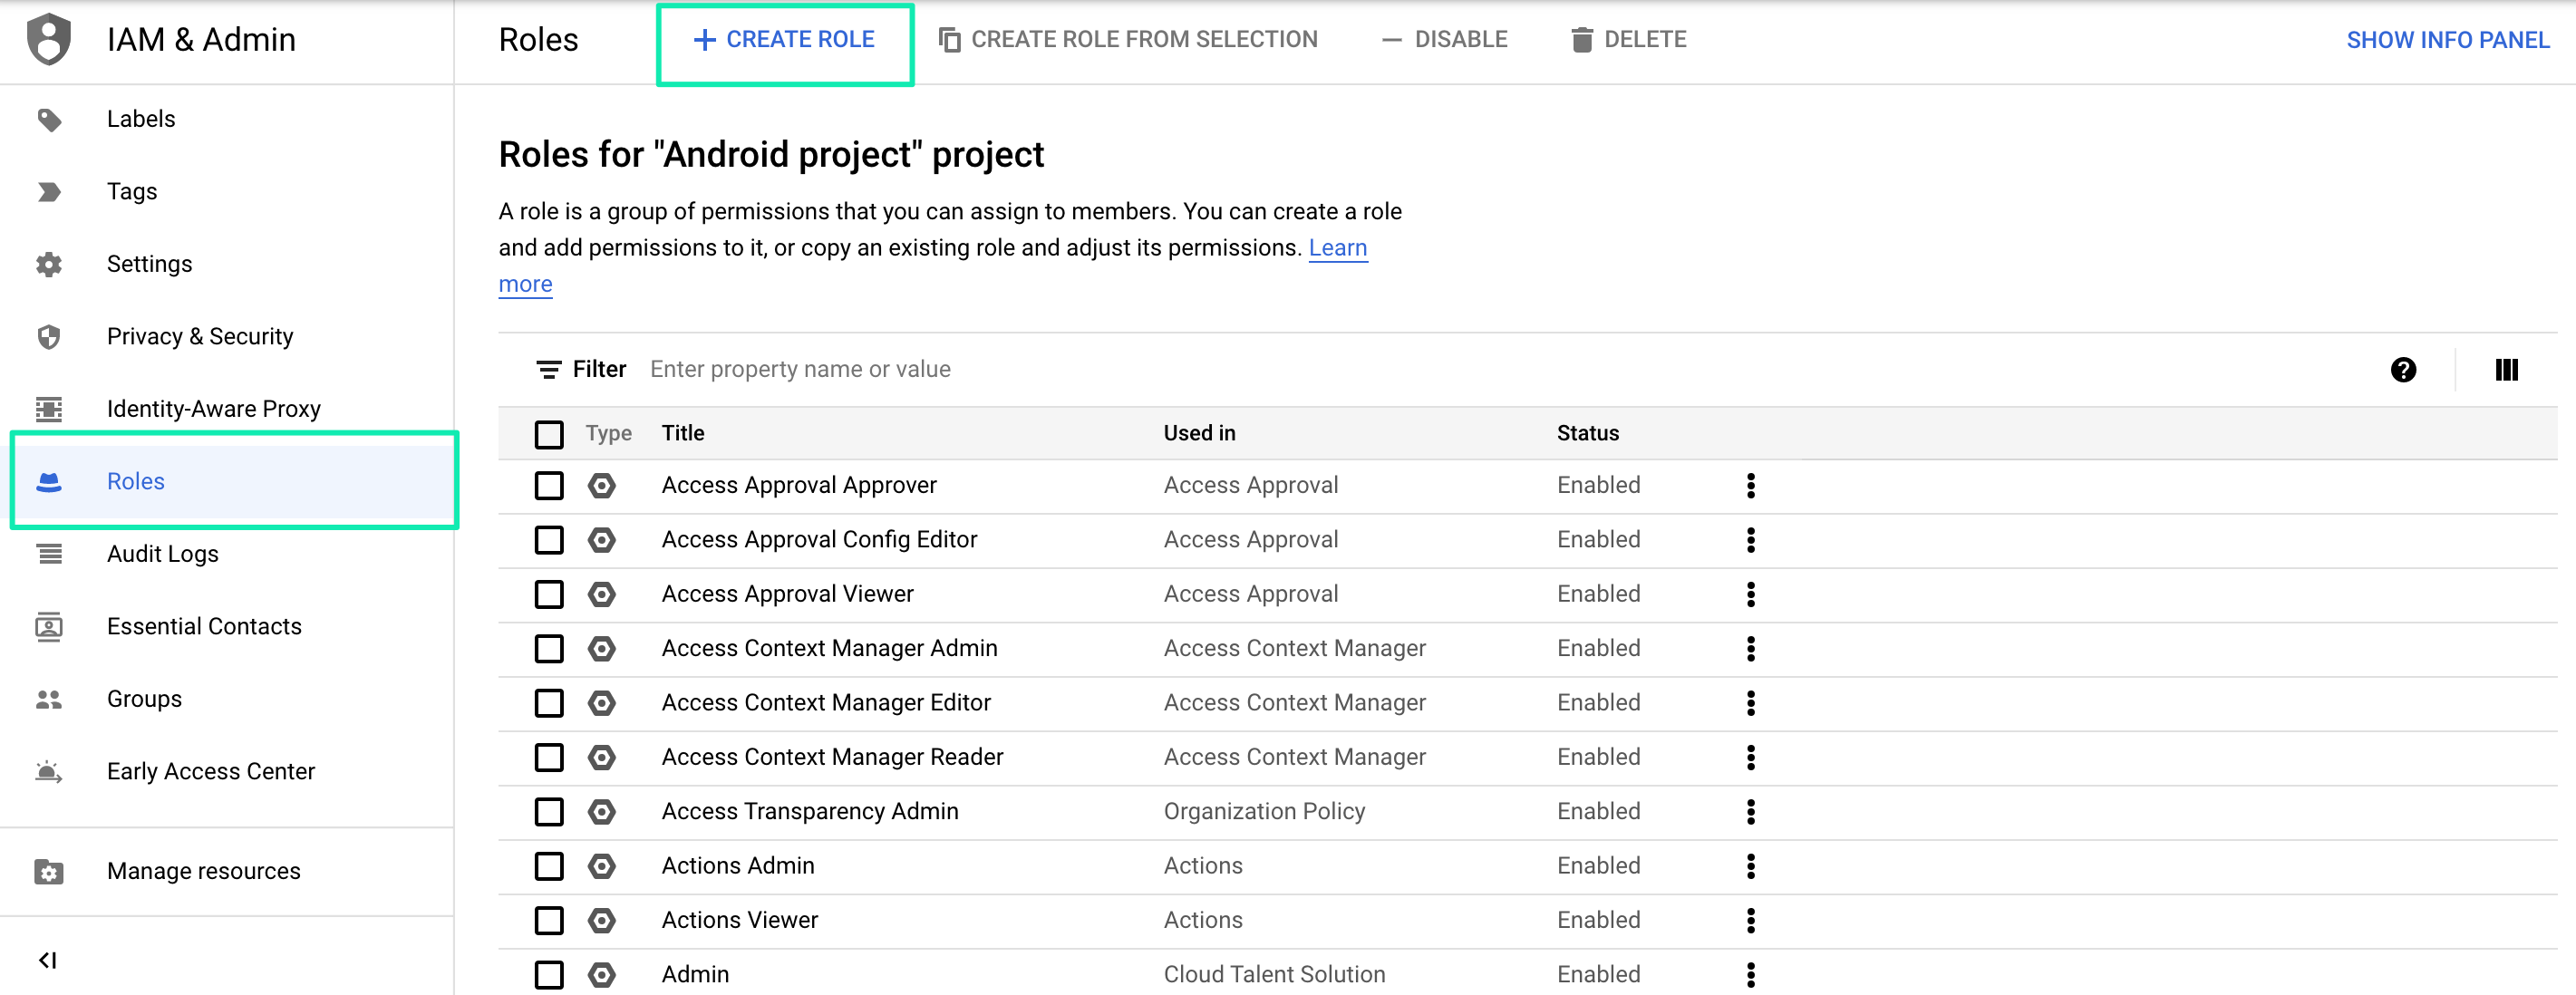
Creating new role
Importantly, the Role launch stage should be set to General Availability, and the cloudmessaging.messages.create permission should be granted for that role.
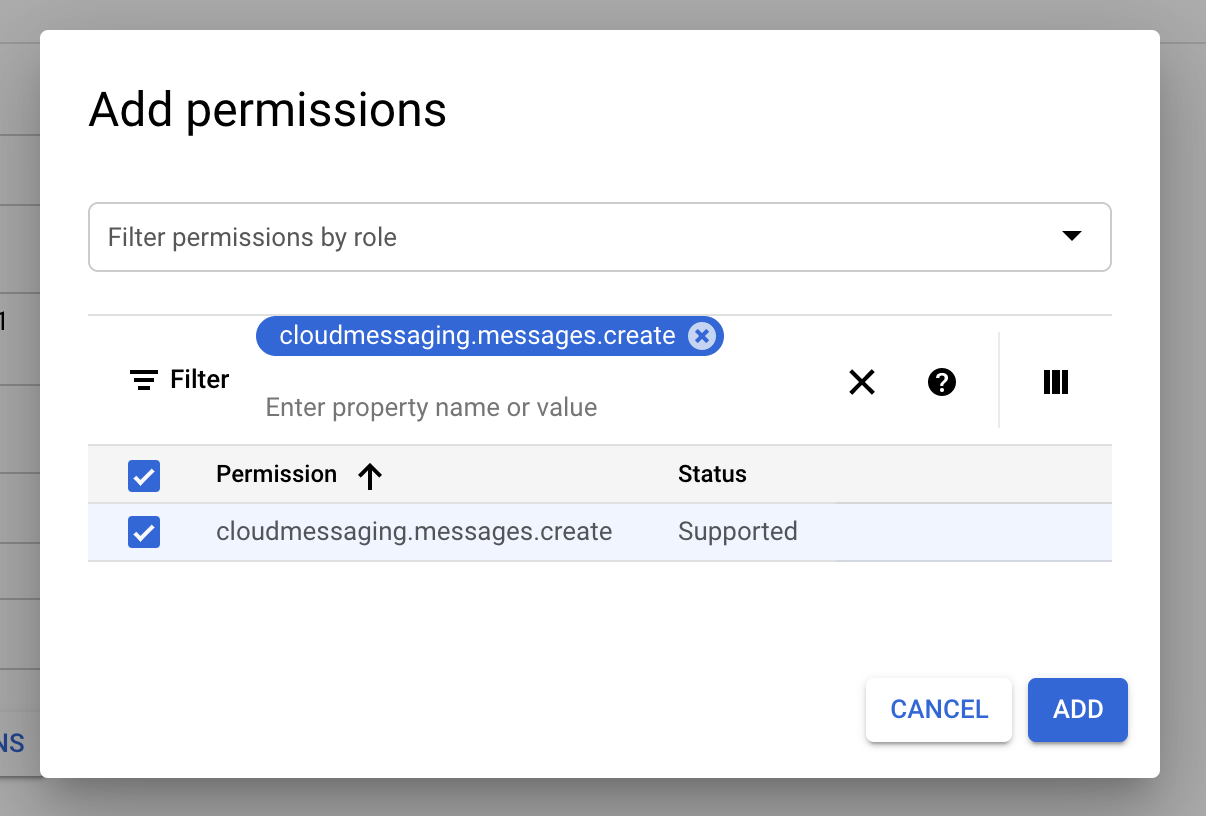
5. Go to the IAM menu section and add the newly created role to the service account. It’s important to add a role to a service account right at this stage, not when you’re creating a service account.
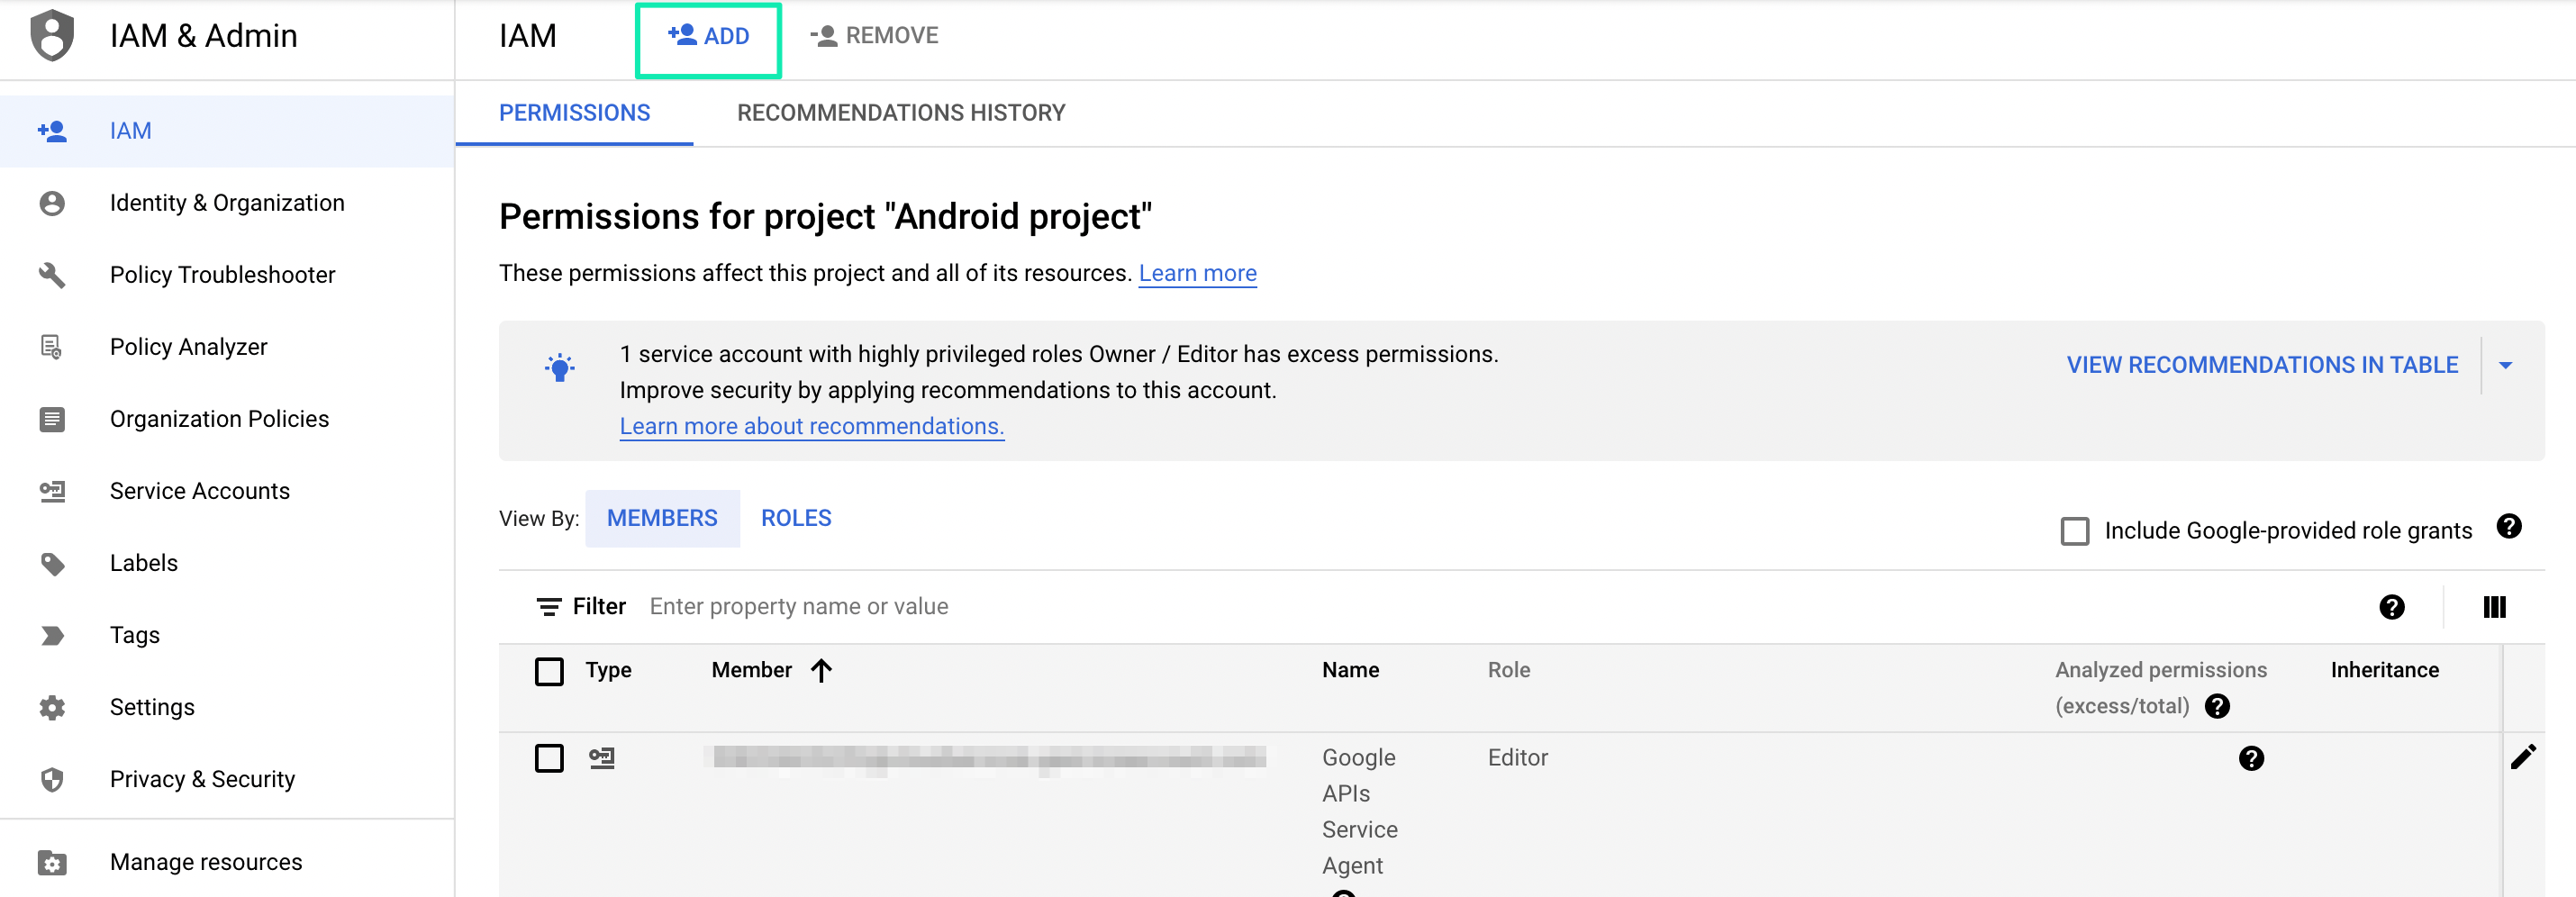
Adding members to project
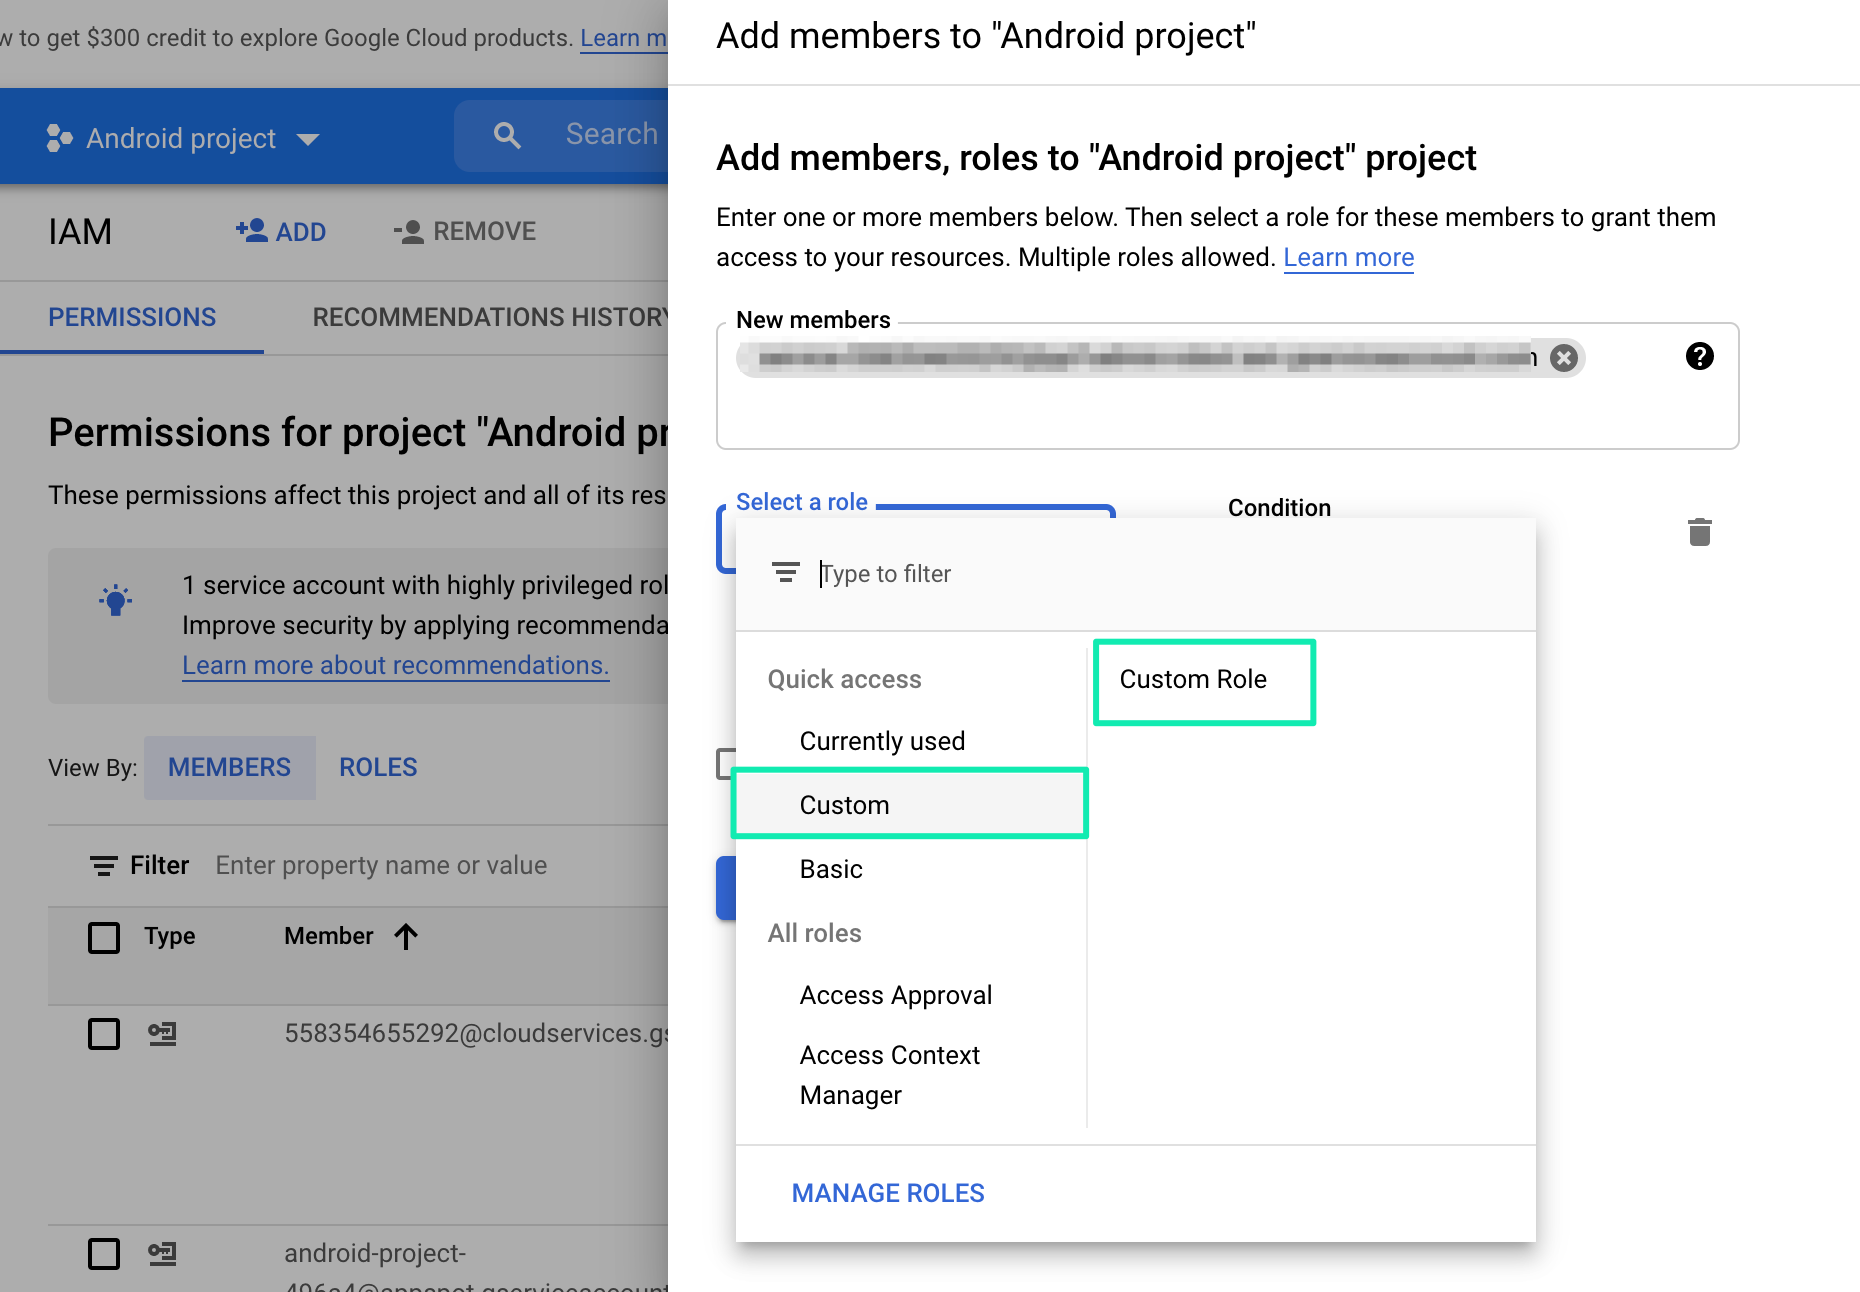
Adding custom role to project
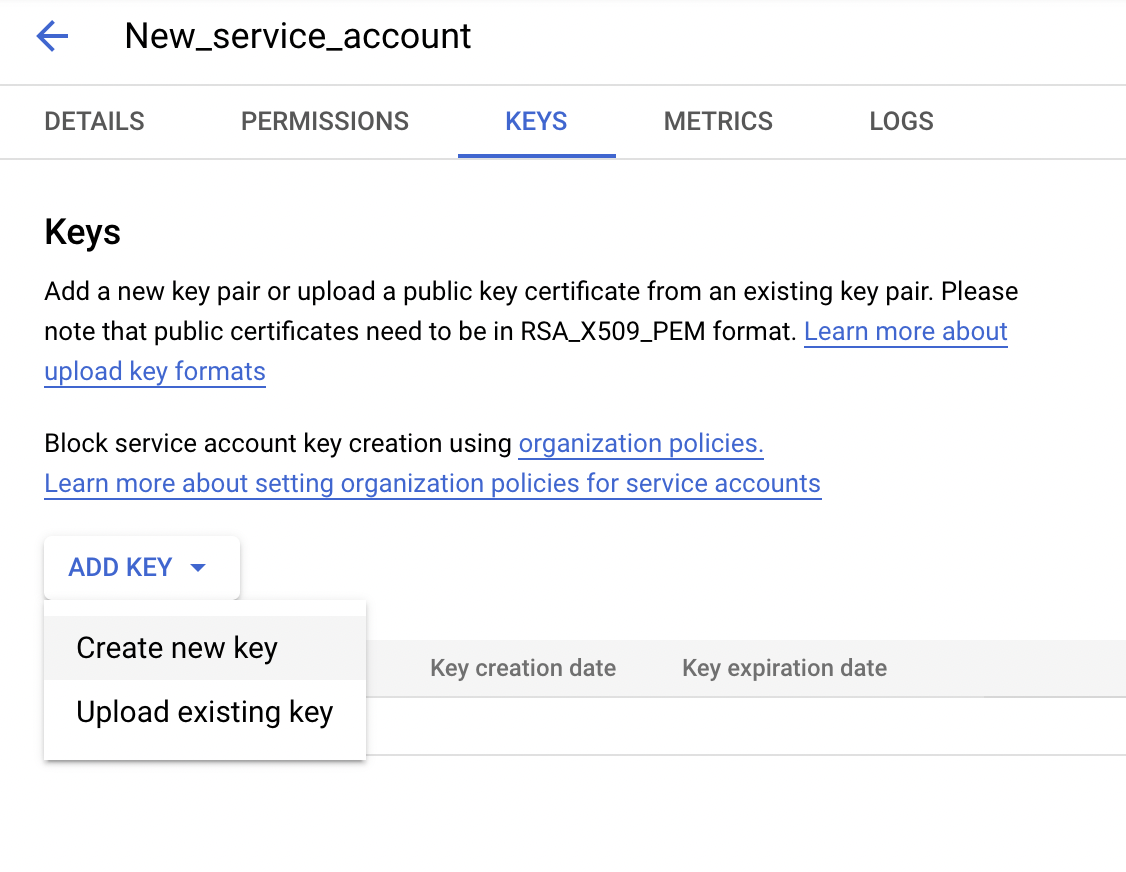
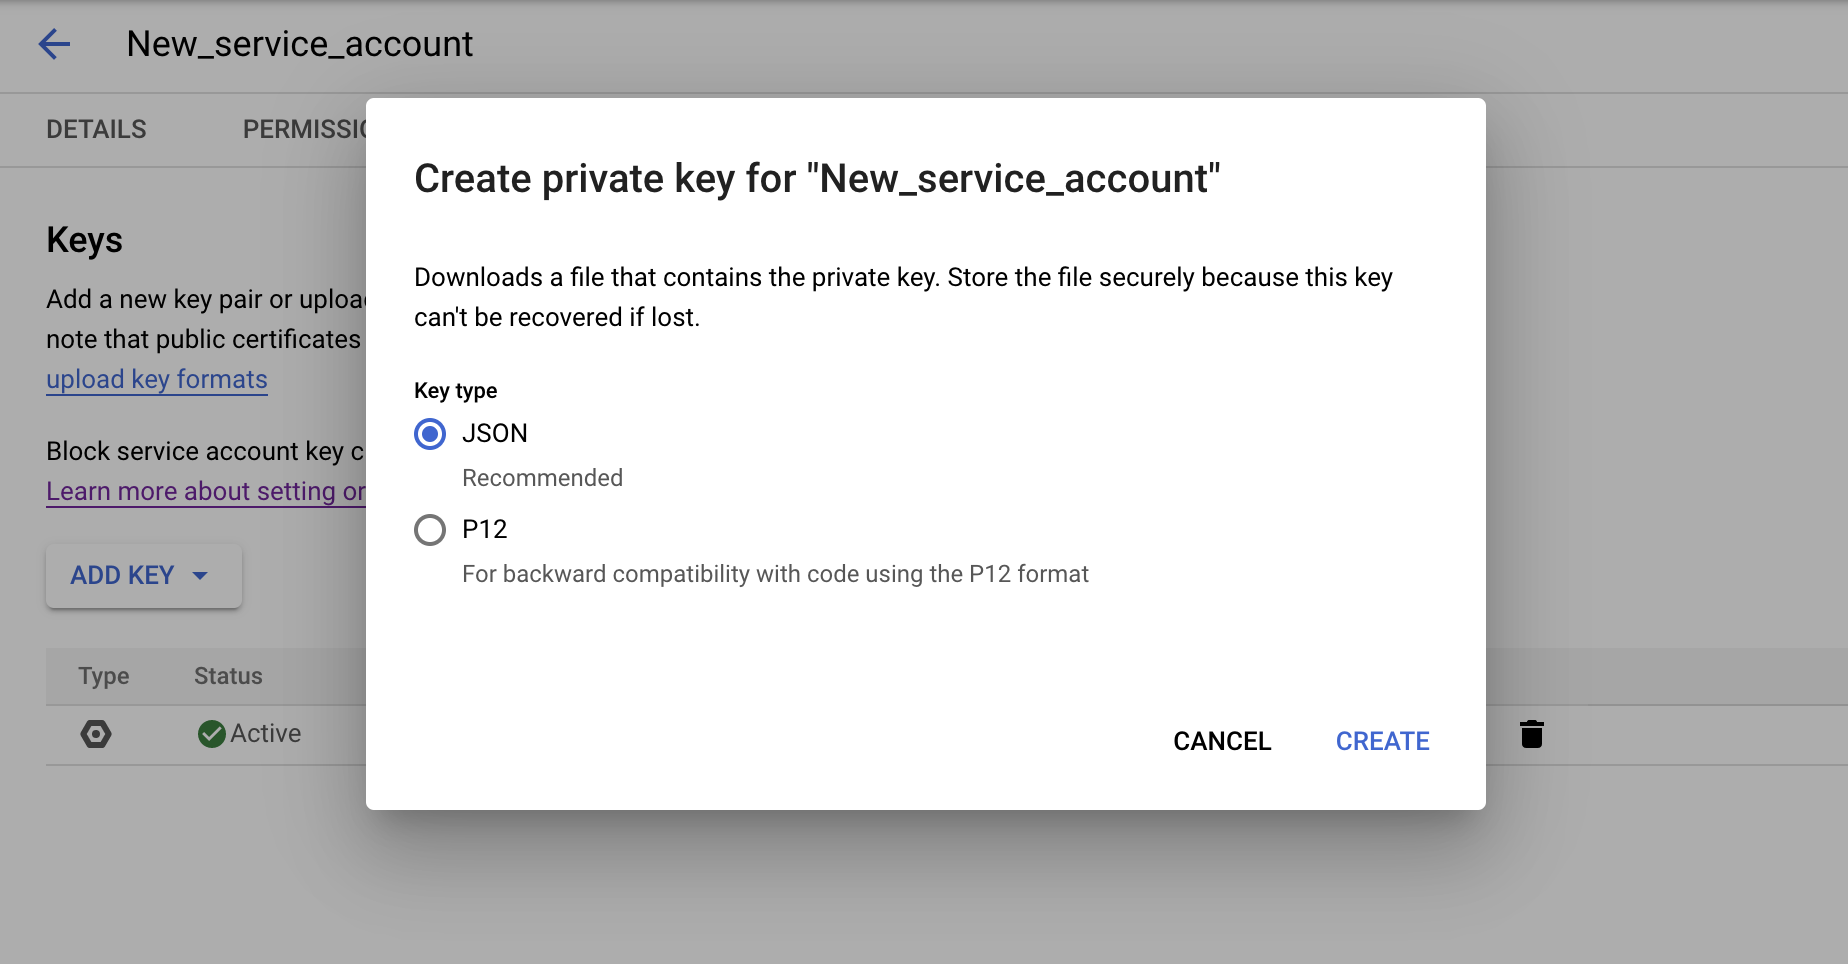
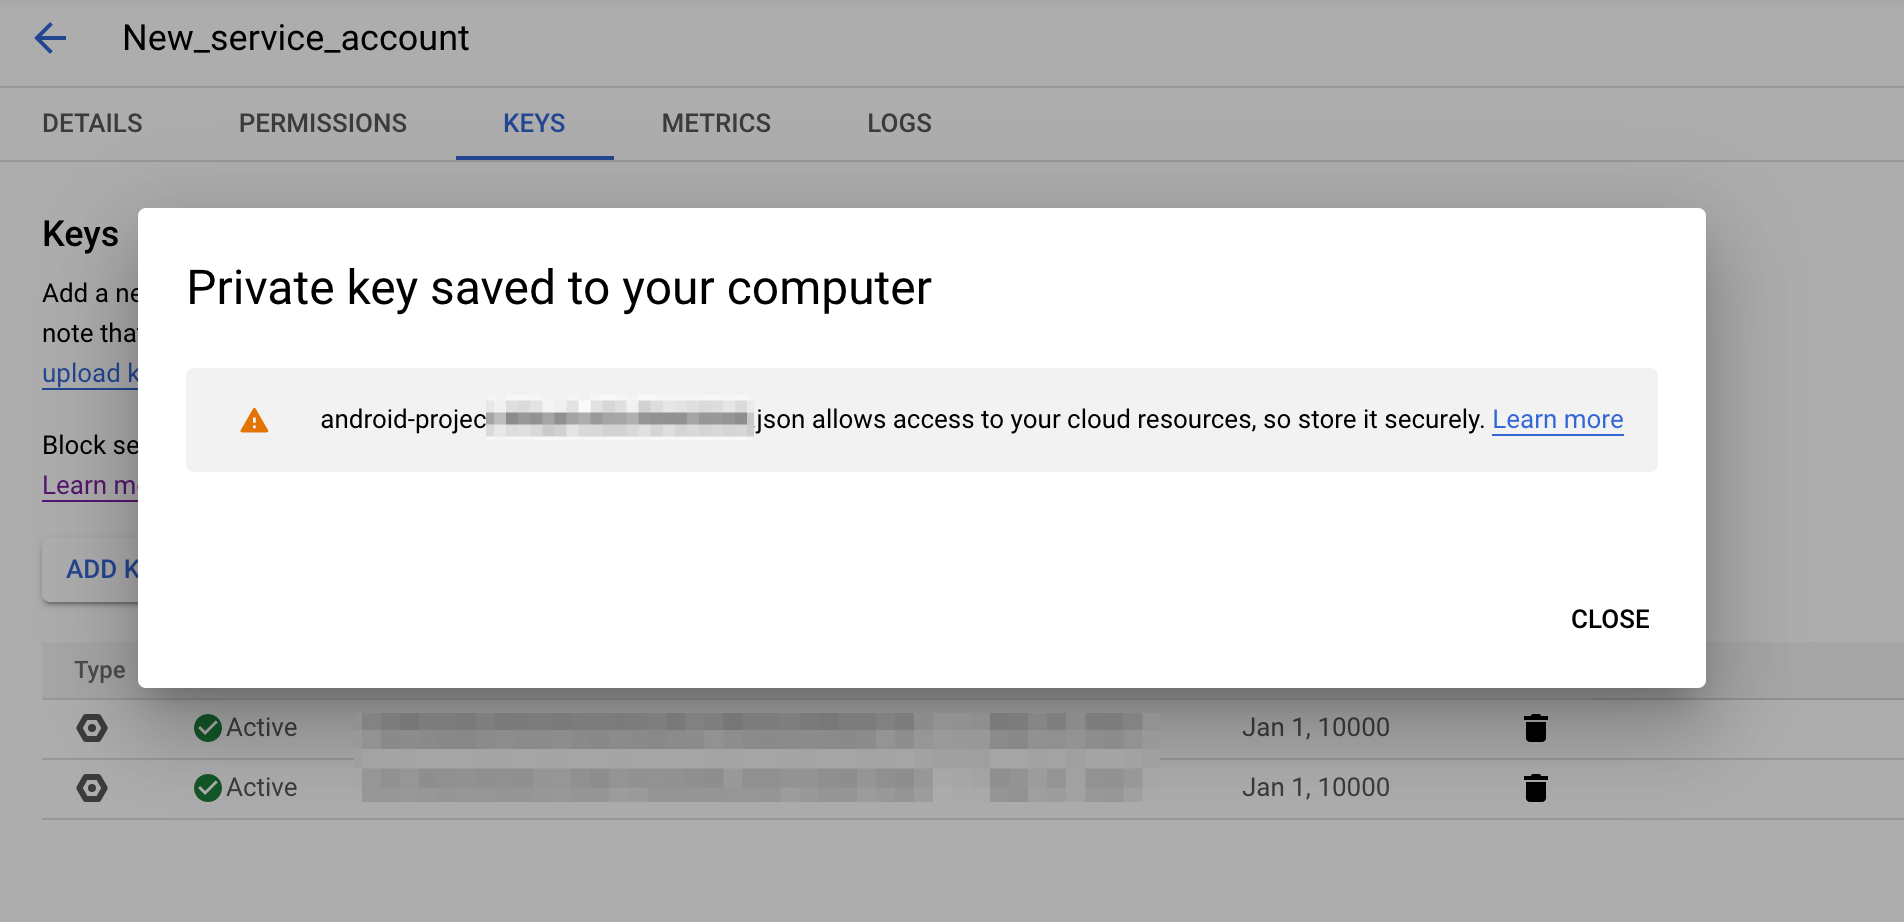
6. Go to the Service Accounts section of the left-side menu. Create a new JSON key and download it to your computer. Then, use this private key to configure Android in the Pushwoosh Control Panel.
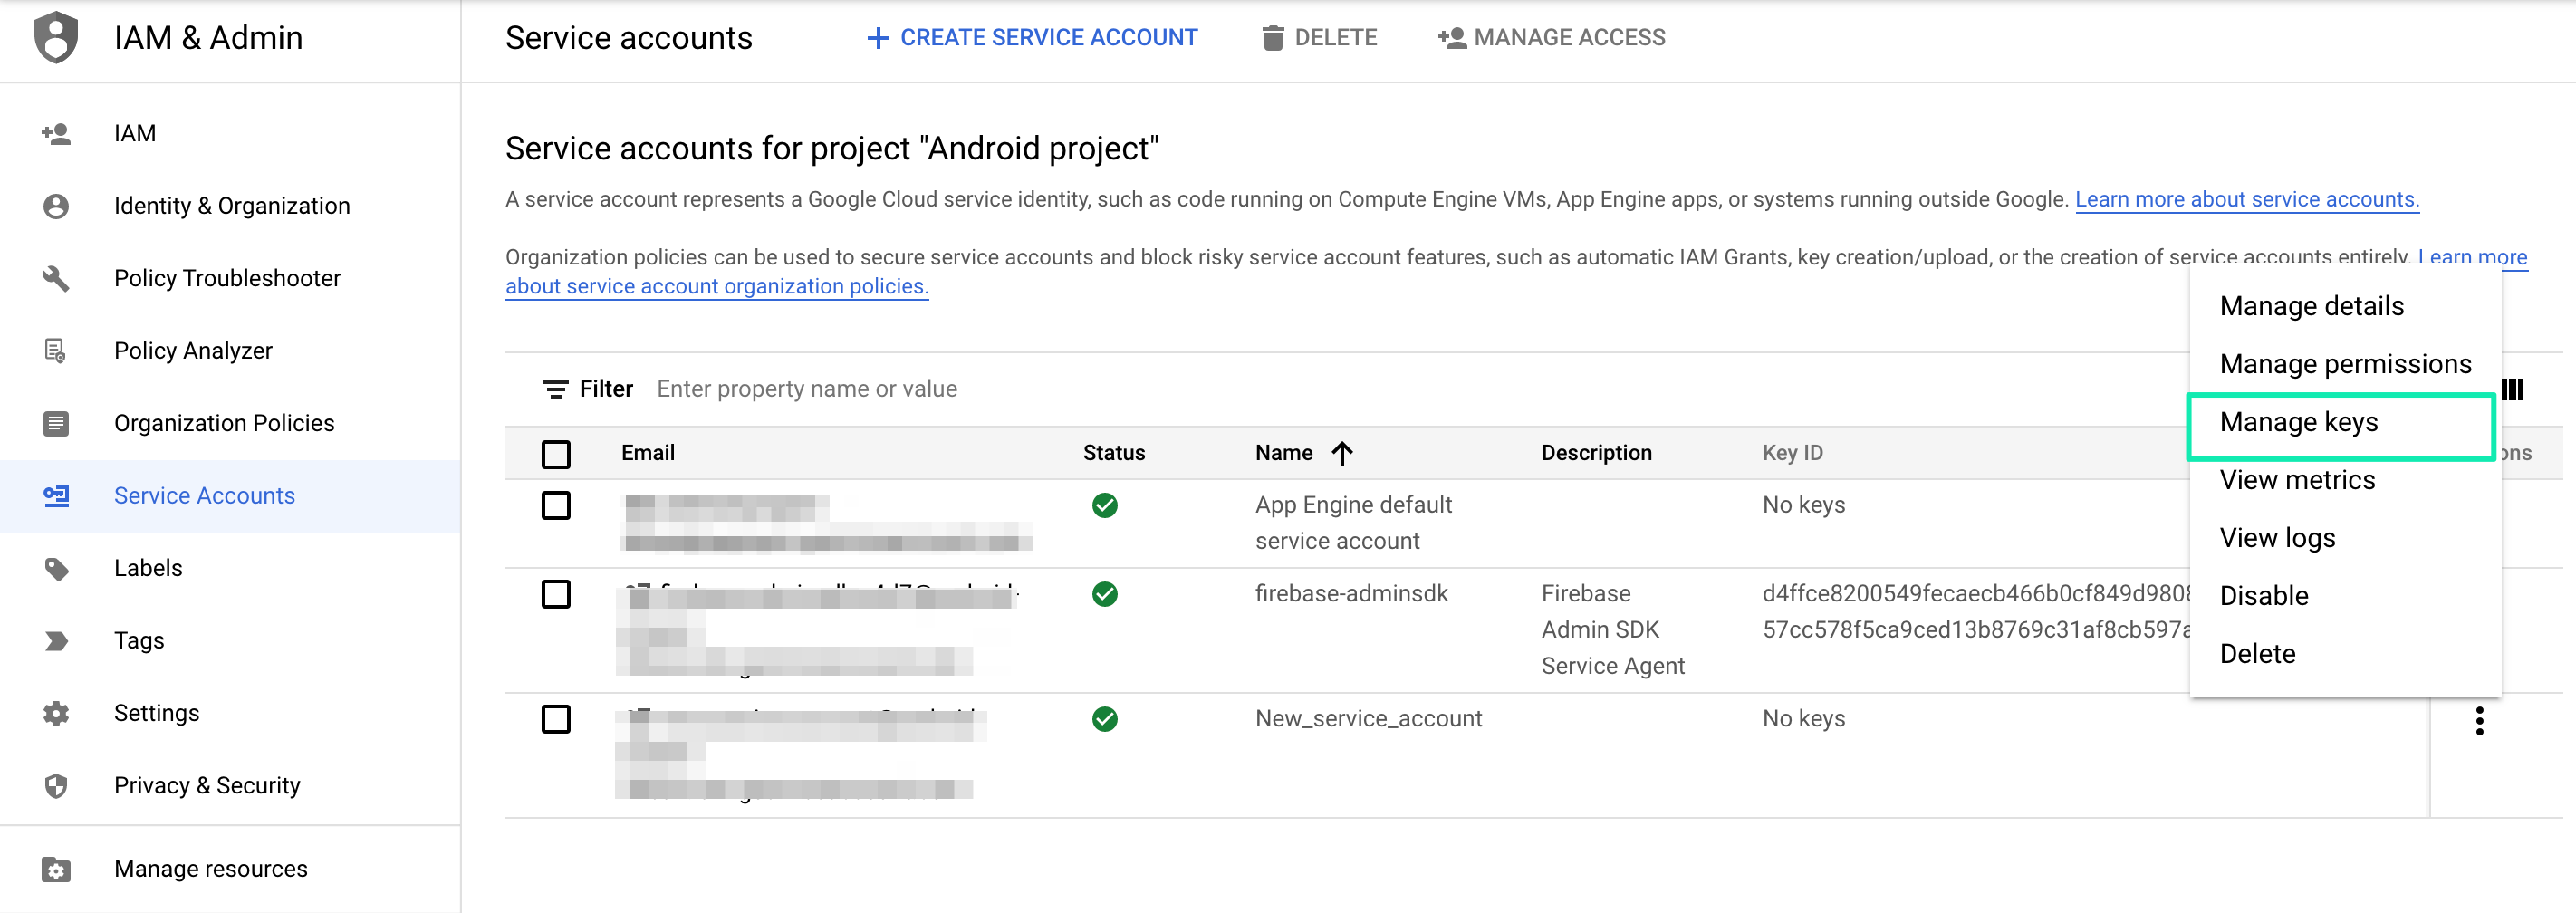
Manage service account keys

Comments
0 comments
Please sign in to leave a comment.